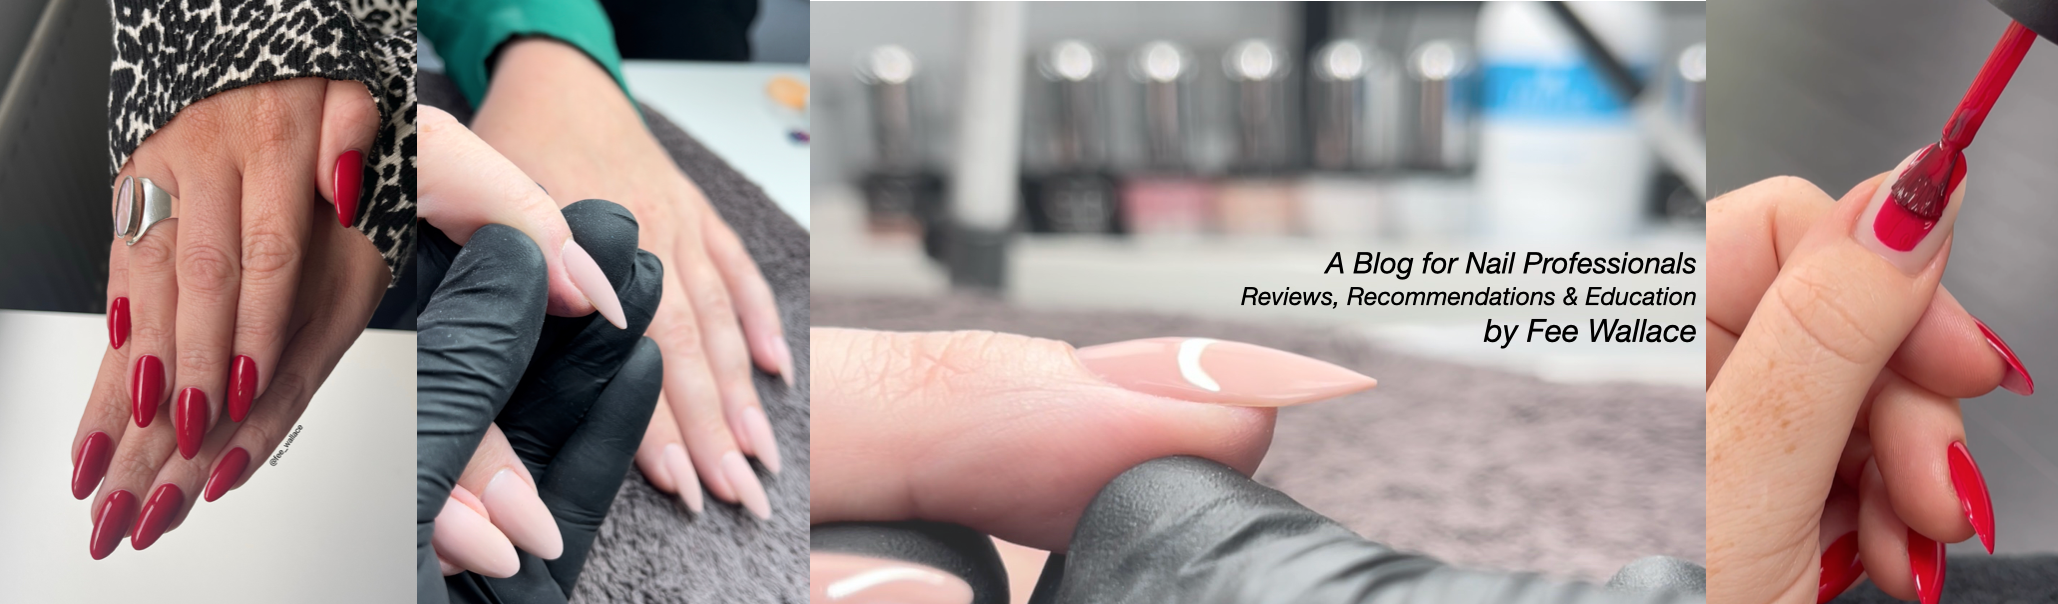

Today sees the launch of a set of 4 stamping plates I designed in collaboration with Yours Cosmetics. It was a HUGE honour to be asked to create a set of plates and I’ve loved the opportunity to select designs that allow us to create the kinds of nail art looks I truly love.

I have been creating nail art for my clients for over 17 years, but only properly got into stamping over the last year or so. The reason I love stamping as a professional nail art technique so much is because it’s fast, easy and so very versatile.
I prize nail art techniques that add just a few minutes to my service time. There are lots of complicated and time consuming techniques out there that look amazing and are fun to do, but are prohibitive in a real working salon environment where you have clients booked back to back, and don’t want to have to up the price of your service by a huge amount.
When stamping in real life, on my client’s nails, I stick to 4 methods:
– Stamping with Creative Play as part of a SHELLAC™ application
– Stamping with CND™ Additives as part of a SHELLAC™ application
– Stamping with SHELLAC™ as part of a SHELLAC™ application
– Stamping with Creative Play as part of a VINYLUX™ application
For starters, here is a golden rule I have found that keeps me right, no matter what mediums I’m attempting to use:
“If stamping onto a dry surface, what’s on your stamper needs to be sticky. If stamping onto a sticky surface, what’s on your stamper needs to be dry.”
Before we get into the step by steps, here is some terminology and details on where to buy the Yours Loves Fee Stamping Plates.

The Yours Loves Fee Plates are available from the following places:
In the UK & Ireland exclusively from Sweet Squared
In Denmark from Beauty Power
In France from What’s Your Nail?
And the rest of the world directly from Yours Cosmetics
The following step by steps are intended for Nail Professionals who are qualified and insured to perform professional CND™ SHELLAC™ services.
Stamping with Creative Play as part of a SHELLAC™ Application
This is my most utilised method for stamping. It’s fast and foolproof, and best of all there is no need to mask off the skin or do clean up after the design is stamped on. This is by far the best way to stamp for a beginner, but it’s likely to be your most used technique day to day, even when very experienced.
Simple Step by Step for Stamping with Creative Play as part of a Shellac Application
- Perform PEP, apply and cure base coat and two coats of Shellac colour as normal. (Or over Enhancements, apply and cure two layers of Shellac colour to finished Enhancements as normal)
- Clean the stamping plate, scraper and stamper with ScrubFresh
- Brush Creative Play onto the stamping plate and IMMEDIATELY scrape over once, firmly with the scraper, then IMMEDIATELY roll the stamper across the design to pick up the polish on your stamper.
- Allow the Creative Play a few seconds to dry on the stamper. The dry polish on the stamper sticks beautifully to the sticky top film of the cured Shellac Colour layer. And because it’s dry it doesn’t stick to the skin around the nail.
- Press and roll the stamper across the nail to transfer the design onto the Shellac colour.
- Apply and cure Shellac Top Coat of your choice. You can do this right away as the Creative Play is dry.

Q&A for this technique:
Q: What if I make a mistake, can I/how do I remove what I stamped on?
A: This is the easiest way to stamp. With a little practice you’ll be doing it quickly without making mistakes, but if you do want to re-do one, here’s what to do: Remove the stamped on design in one firm wipe with ScrubFresh on a lint free pad. Now re-apply a thin layer of the Shellac colour and cure. Now you have a new sticky top film to stamp onto again.
Q: I can’t pick up the design on my stamper, what am I doing wrong?
A: The most likely reason is that you are allowing the Creative Play to dry on the stamping plate. Make sure you do just one firm scrape with your scraper and IMMEDIATELY pick up the design by rolling your stamper across the plate.
Stamping with CND™ Additives as part of a SHELLAC™ Application
The results with this technique tend to be a little more subtle, but the look is still very effective. For those clients trying out nail art for the first time, or for those looking for a more refined, understated look, this technique is perfect. As with the previous technique, there is no need to mask off the skin, but there will likely be just a little clean up of the dry Additive from the skin after stamping. Not all CND™ Additives are ideal for stamping, the finest powder pigments and effects work best to stamp with, the chunky glitters, not so much. (There are ways to adhere glitter to a stamped on design, that’s coming up in the next technique.)
Simple Step by Step for Stamping with CND™ Additives as part of a Shellac Application
- Perform PEP, apply and cure base coat and two coats of Shellac colour as normal. (Or over Enhancements, apply and cure two layers of Shellac colour to finished Enhancements as normal)
- Clean the stamping plate, scraper and stamper with ScrubFresh
- Use a dry brush (love the world famous Lecenté G1) to press the Additive into the stamping plate.
- Scrape over the design firmly, several times in different directions. Use a clean edge of the scraper each time.
- Roll the stamper across the plate to pick up the design.
- Roll the stamper across the nail to transfer the design onto the sticky top film of the cured Shellac colour layer.
- Apply and cure Shellac Top Coat of your choice.

Q&A for this technique:
Q: What if I make a mistake, can I/how do I remove what I stamped on?
A: If you do want to re-do one, here’s what to do: Remove the stamped on design in one firm wipe with d.sperse (IPA) on a lint free pad. Now re-apply a thin layer of the Shellac colour and cure. Now you have a new sticky top film to stamp onto again.
Stamping with SHELLAC™ as part of a SHELLAC™ Application
The most frequently asked question I get on stamping is, ‘Can I stamp with Shellac?’ My answer is, ‘well, why would you want to?’ Stamping with Shellac is something I would only do in very specific circumstances, when there is no other way to create the desired effect. If you want to adhere Lecenté Glitter, Lecenté Foil, or a chunkier CND™ Additive to the stamped on design (and not to the background colour), stamping with Shellac will allow you to do that, because once cured, your stamped on design will be sticky and therefor perfect to adhere glitter, foil, additives, etc. If what you want is just a colour stamped on, Creative Play is a far better option in my opinion.
When stamping with Shellac, you MUST mask off the skin around the nail to prevent overexposure. Shellac is a curable polish that is not meant to come in contact with the skin in it’s uncured form, ever. As a professional it is your responsibility to care for your clients, observe health and safety regulations and as a condition of your professional insurance, follow manufacture’s instructions. I like to use micropore tape to mask of the skin.
So stamping with Shellac is more time consuming and requires practice to do efficiently, you therefor must book in extra time and charge a premium if you use this technique on your clients.
Stamping with Shellac as part of a Shellac Manicure
- Perform PEP, apply and cure base coat and two coats of Shellac colour as normal. (Or over Enhancements, apply and cure two layers of Shellac colour over finished Enhancements as normal)
- Apply and cure Shellac Top Coat of choice and wipe away the sticky top film with d.sperse (IPA). Do this carefully, it’s very important that this layer is not sticky at all after wiping.
- Clean the stamping plate, scraper and stamper with ScrubFresh.
- Mask off the skin around the nails you will stamp on using masking tape / micropore / paint on latex tape.
- Brush Shellac colour onto the stamping plate, give it a few seconds to begin to air dry.
- Use the scraper to firmly scrape across the design, then scrape again in the other direction. Repeat this a few times. This will allow the Shellac on the plate to keep air drying and properly settle into the plate.
- Roll the stamper across the plate to pick up the design.
- Roll the stamper across the nail to transfer the design and cure (S2 button)
- Apply foil, glitter or Additives to the cured design and finish with a further layer of Shellac Top Coat of your choice. I recommend XPRESS5™ for this technique as two layers of Original Shellac Top Coat could be a bit bulky.

Q&A for this technique:
Q: Why do I have to mask off the skin, can I not just wipe the Shellac off the skin?
A: Because Shellac is a curable polish, there are ingredients in the formula that are not intended to come in contact with the skin in it’s uncured form. Repeated soft tissue exposure to uncured product could lead to irritation. Masking off the skin will prevent this.
Q: When I stamp the Shellac on it goes all smudgy, what am I doing wrong?
A: Are you certain you are removing the sticky top film from the cured top coat before stamping? The Shellac on your stamper is still uncured, so it needs to be applied to a dry (not sticky) layer of Shellac Top Coat. If this is not the reason, you could be pressing the stamper too firmly against the nail.
Stamping with Creative Play as part of a VINYLUX™ Application
Vinylux is my first choice for applying colour over Nail Enhancements, and it’s by far the best performing air-drying polish on natural nails in terms of wear and durability. Vinylux is a great choice for those for whom Shellac is not a suitable service option; under 16’s or those who are unable to return to you for a professional removal – it can be removed safely at home, unlike Shellac for which home removal is never a good idea.
Vinylux is very quick drying, so there is no hanging around waiting for the polish on the nail to become dry enough to stamp over. I love using Creative Play as a polish over natural nails and Enhancements, but not if I’m going to stamp over the polish, Vinylux is a far better option for the base colour.
Stamping with Creative Play as part of a Vinylux Manicure
- Perform PEP and apply two layers of Vinylux colour to your clients nails. (Or over Enhancements, apply two layers of Vinylux colour over finished Enhancements as normal)
- Clean the stamping plate, scraper and stamper with ScrubFresh
- Brush Creative Play onto the stamping plate and IMMEDIATELY scrape over firmly with the scraper, then IMMEDIATELY roll the stamper across the design to pick up the polish on your stamper.
- IMMEDIATELY roll the stamper across the nail to transfer the design. If we allow the Creative Play to dry on the stamper it will not stick to the dry Vinylux colour underneath.
- Allow the stamped on design a minute or two to dry and then finish with Vinylux Top Coat
Q&A for this technique
Q: I can’t pick up the design on my stamper, what am I doing wrong?
A: The most likely reason is that you are allowing the Creative Play to dry on the stamping plate. Make sure you do just one firm scrape with your scraper and IMMEDIATELY pick up the design by rolling your stamper across the plate before it gets the chance to dry.
Q: I can’t get the design to come off the stamper and transfer onto the nail, what am I doing wrong?
A: You have to be quick with this technique. Your design is going onto a dry layer of Vinylux, so the Creative Play on the stamper has to still be tacky in order for it to stick.
Q: When I apply the Vinylux Top Coat sometimes the design drags and looks smudgy.
A: Be sure to give the stamped on design a couple of minutes to dry and when applying Top Coat ensure the brush is loaded with product and that you float the brush over the nail so the bristles don’t get a chance to disturb the design underneath.
Thanks for checking out the blog! Let me know what you think here in the comments section of join the discussion over on Facebook.
Hope you enjoy using the new plates, I can’t wait to see what everyone comes up with!
There are several step by step videos for stamping and other pro techniques on my YouTube Channel.
For loads more stamping pictures and ideas please join me over on Instagram.

Hi Fee, thank you so much for this blog – I know it will become my “Go-To” for all stamping!! I have tried stamping on a couple of clients in the last few days and found it took me ages but this will help so much! It is very clear and concise, just what I need, thank you xxx
Pauline x
LikeLike
Thank you, lots of good info!
LikeLike
Fee your Blogs are so helpful, it’s given me great confidence in performing wonderful designs on my clients nails, so thank you.
One question I have is….
When stamping creative play patterns on all nails I’m using a lot of pads to clean the plate & stamp with Scrubfresh between each application, do you have any tips on the best way to do this?
Many Thanks
Sarah x
LikeLike
Hi Sarah,
When performing stamping as a professional service I am always cleaning my stamper and plate with ScrubFresh. If I am stamping all ten nails I would normally use 2 stampers for quickness, but even if using 1 stamper, I’d say I use 3-4 pads maximum during the entire process. I like to have different pads for different jobs; I use my premium quality, plastic-backed pads to ScrubFresh the nail plate, and I use less expensive gauze pads for cleaning my plates and stamper. You might find you are doing more ‘pumps’ than necessary if using a pump top for your ScrubFresh (once is enough!), or if you are tipping the bottle up rather than using a pump top, you are likely using way more ScrubFresh then you need to. I tend to use the square gauze pad in 4 sections, a corner/quarter per pump.
LikeLike
Hi, the polish that is used for stamping, can it be used as a base colour and if so is it done like a normal colour. Painted cured, painted cured then top coat cured.
LikeLike
Hi Gaynor, the polish that I use for stamping is an air drying polish, not a gel polish. You can stamp with gel polish, but I find it unnecessarily time consuming. If stamping with gel polish we MUST mask off the skin around the nail, gel polish should never make contact with the soft tissue in it’s uncured form.
Stamping with traditional air drying polish is quicker and more foolproof in my experiance.
LikeLike